6 September 2023
The density determination of additively manufactured enables manufacturers to ensure the quality and reliability of the parts. It also helps to identify defects, porosity, or voids within the material, which could compromise the strength and durability of the final product. With this in mind, the Fraunhofer IAPT, Hamburg, Germany commissioned an independent study of the various AM density determination technologies available. According to Dimensionics Density, the study found that the company’s automated density determination is particularly recommended in areas where a statement on the density has to be made quickly or frequently.

The Fraunhofer report, entitled “Analysis of measurement methods for density determination in additive manufacturing” also reviewed the use of micrographs, computed tomography, and the manual Archimedes method. All methods are basically capable of determining the relative density of AM parts and components, but the Fraunhofer IAPT report found that there are substantial differences in accuracy, resolution, repeatability and the possibility of defect detection.
Micrographs destroy the AM specimen, and while they can provide partial insight into the actual condition of pores in a part, the process is characterised by a lot of manual work, adding time and cost and relying on a high degree of expertise.
Computed tomography (CT) similarly requires the use of expensive expert operators, and while it can provide a realistic 3D image of the internal porosity of a part, it is restricted in the pore size that it can detect, and the price of CT equipment can be expensive.
The Archimedes method is the easiest to use but can be the least accurate as it can be negatively impacted by changing environmental conditions, the accuracy of the balance, as well as the precision of the experimental procedure. It is difficult to reproduce the results, which are strongly influenced by human factors. Test specimens are never placed exactly the same on the balance, and the manual operation of the balances leads to measurement deviations.

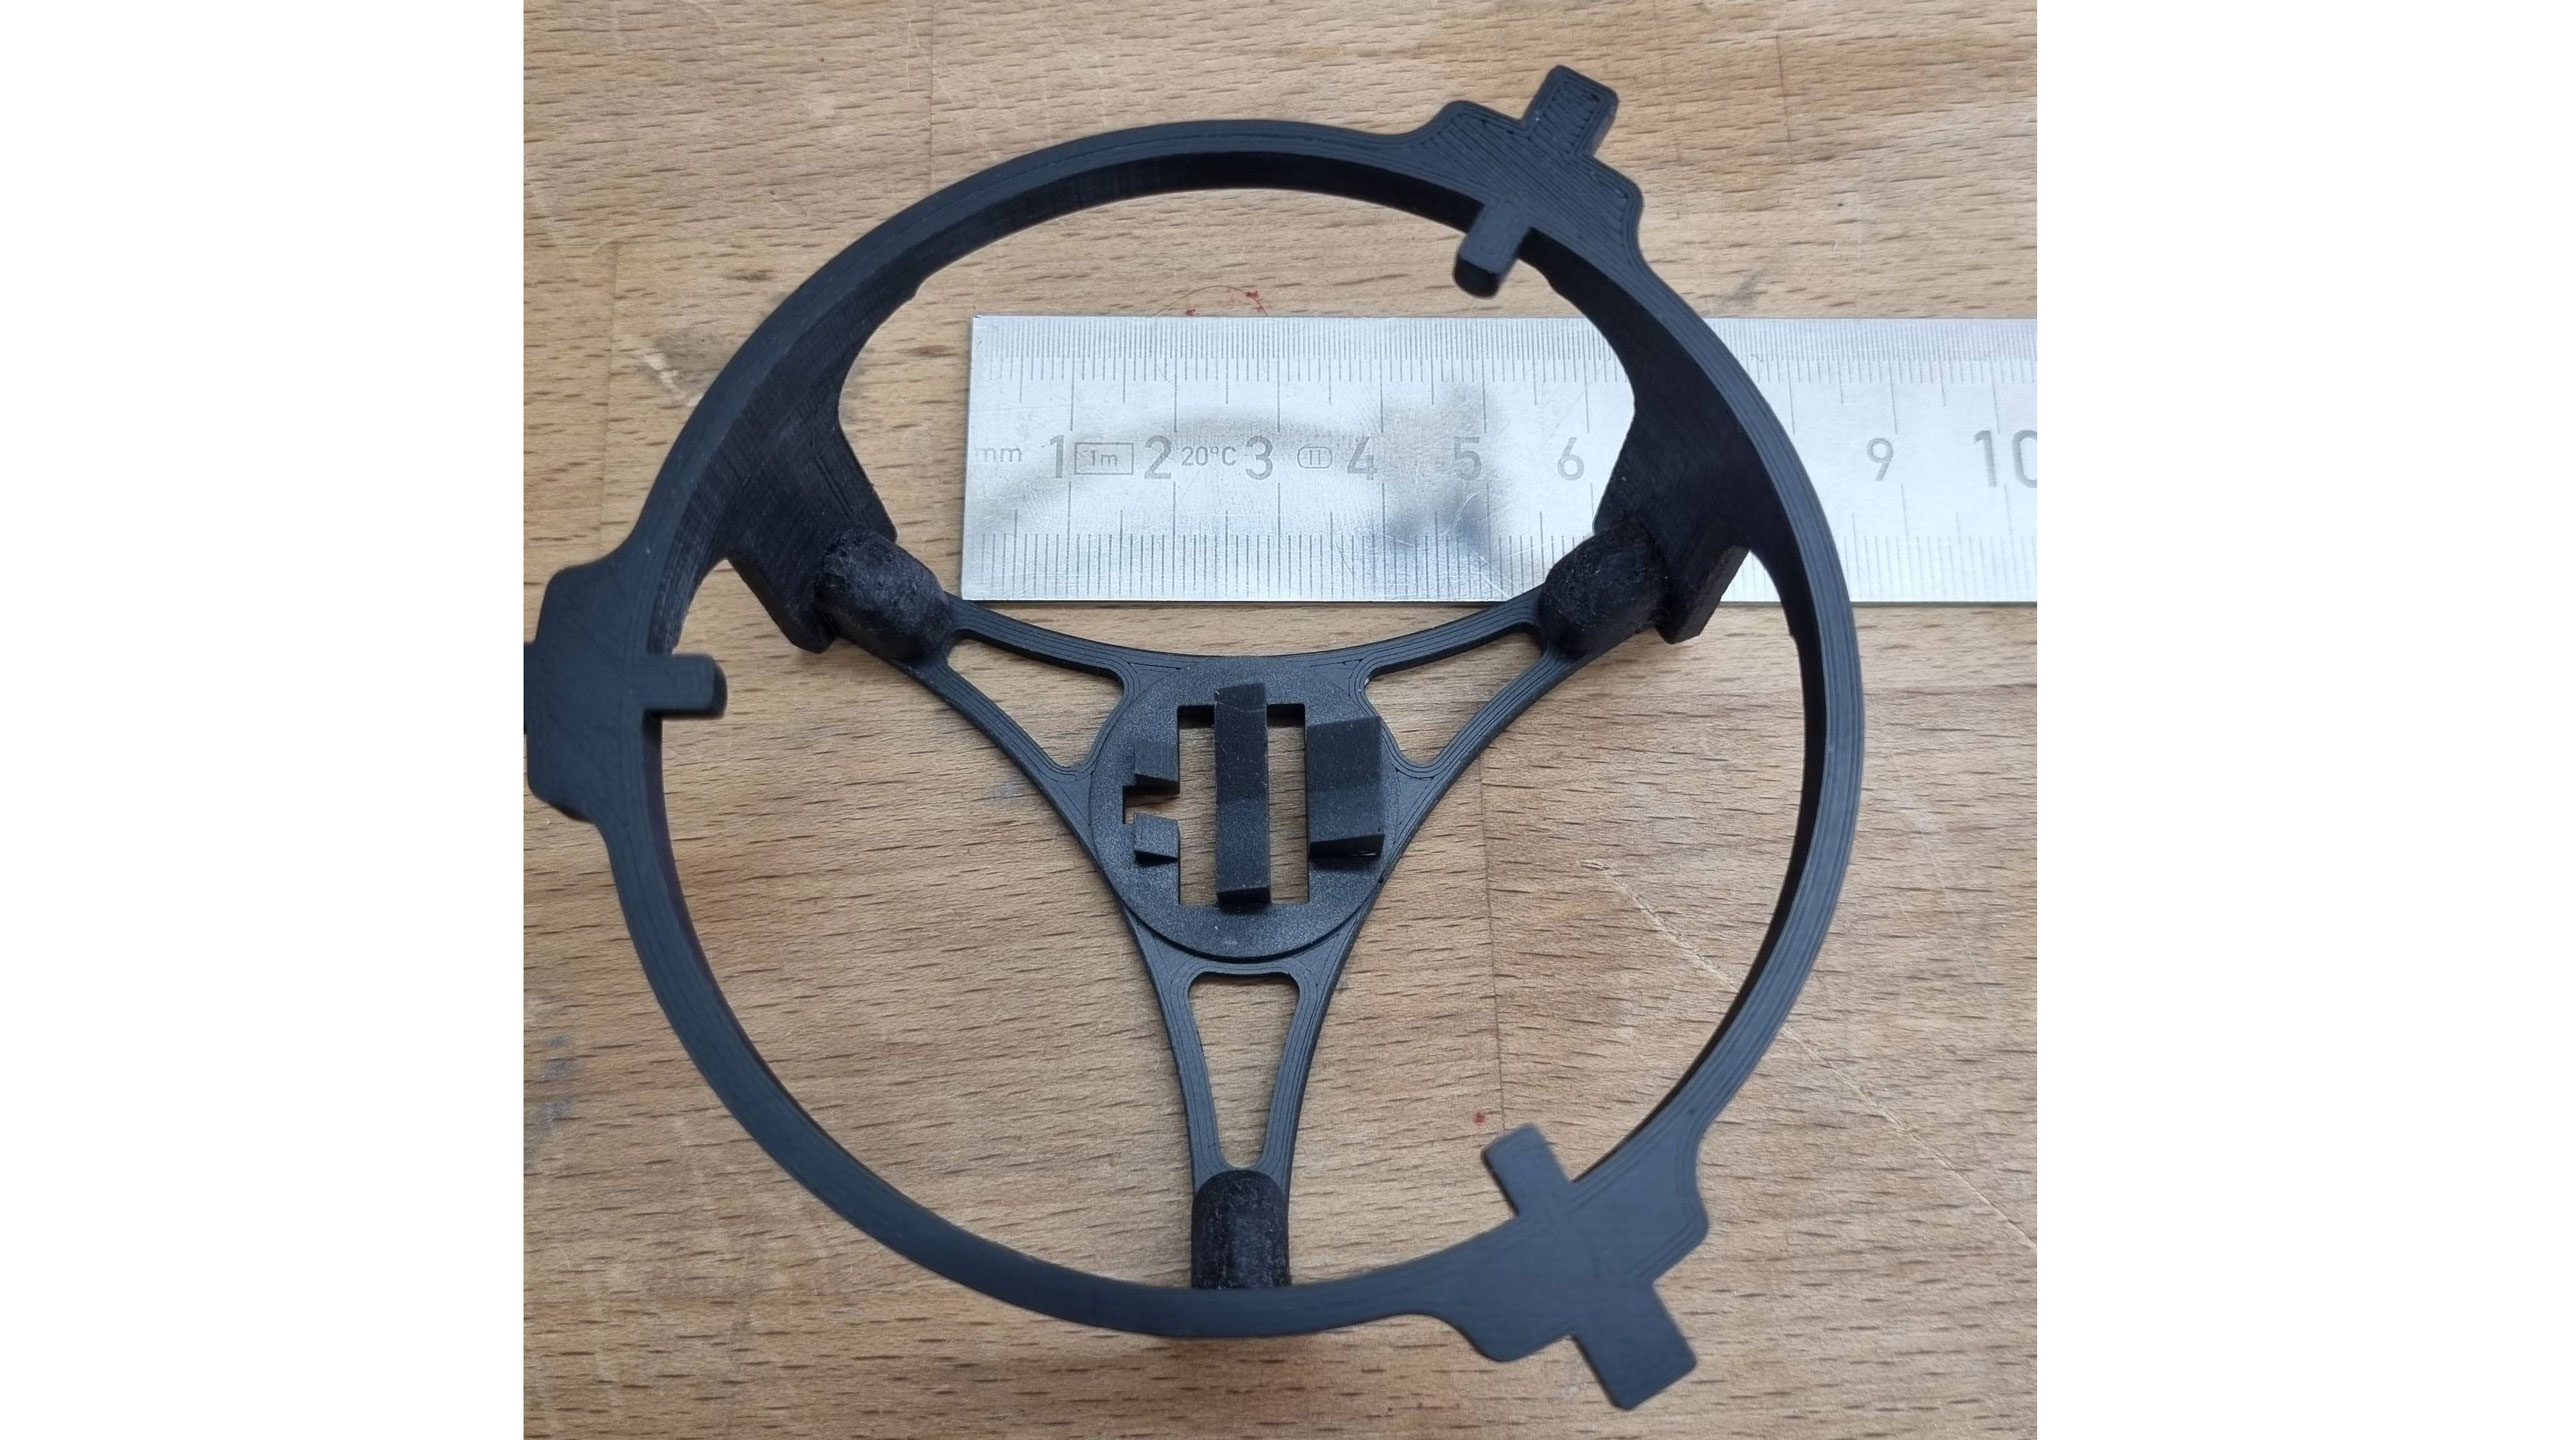
The Dimensionics Density’s process uses the Archimedes method, but in combination with modern automation technology. The samples to be measured are placed in a special component carrier, which is provided with openings on the underside. These component carriers are transported through the system by an axis robot and thus lowered centrally and precisely onto the scales.
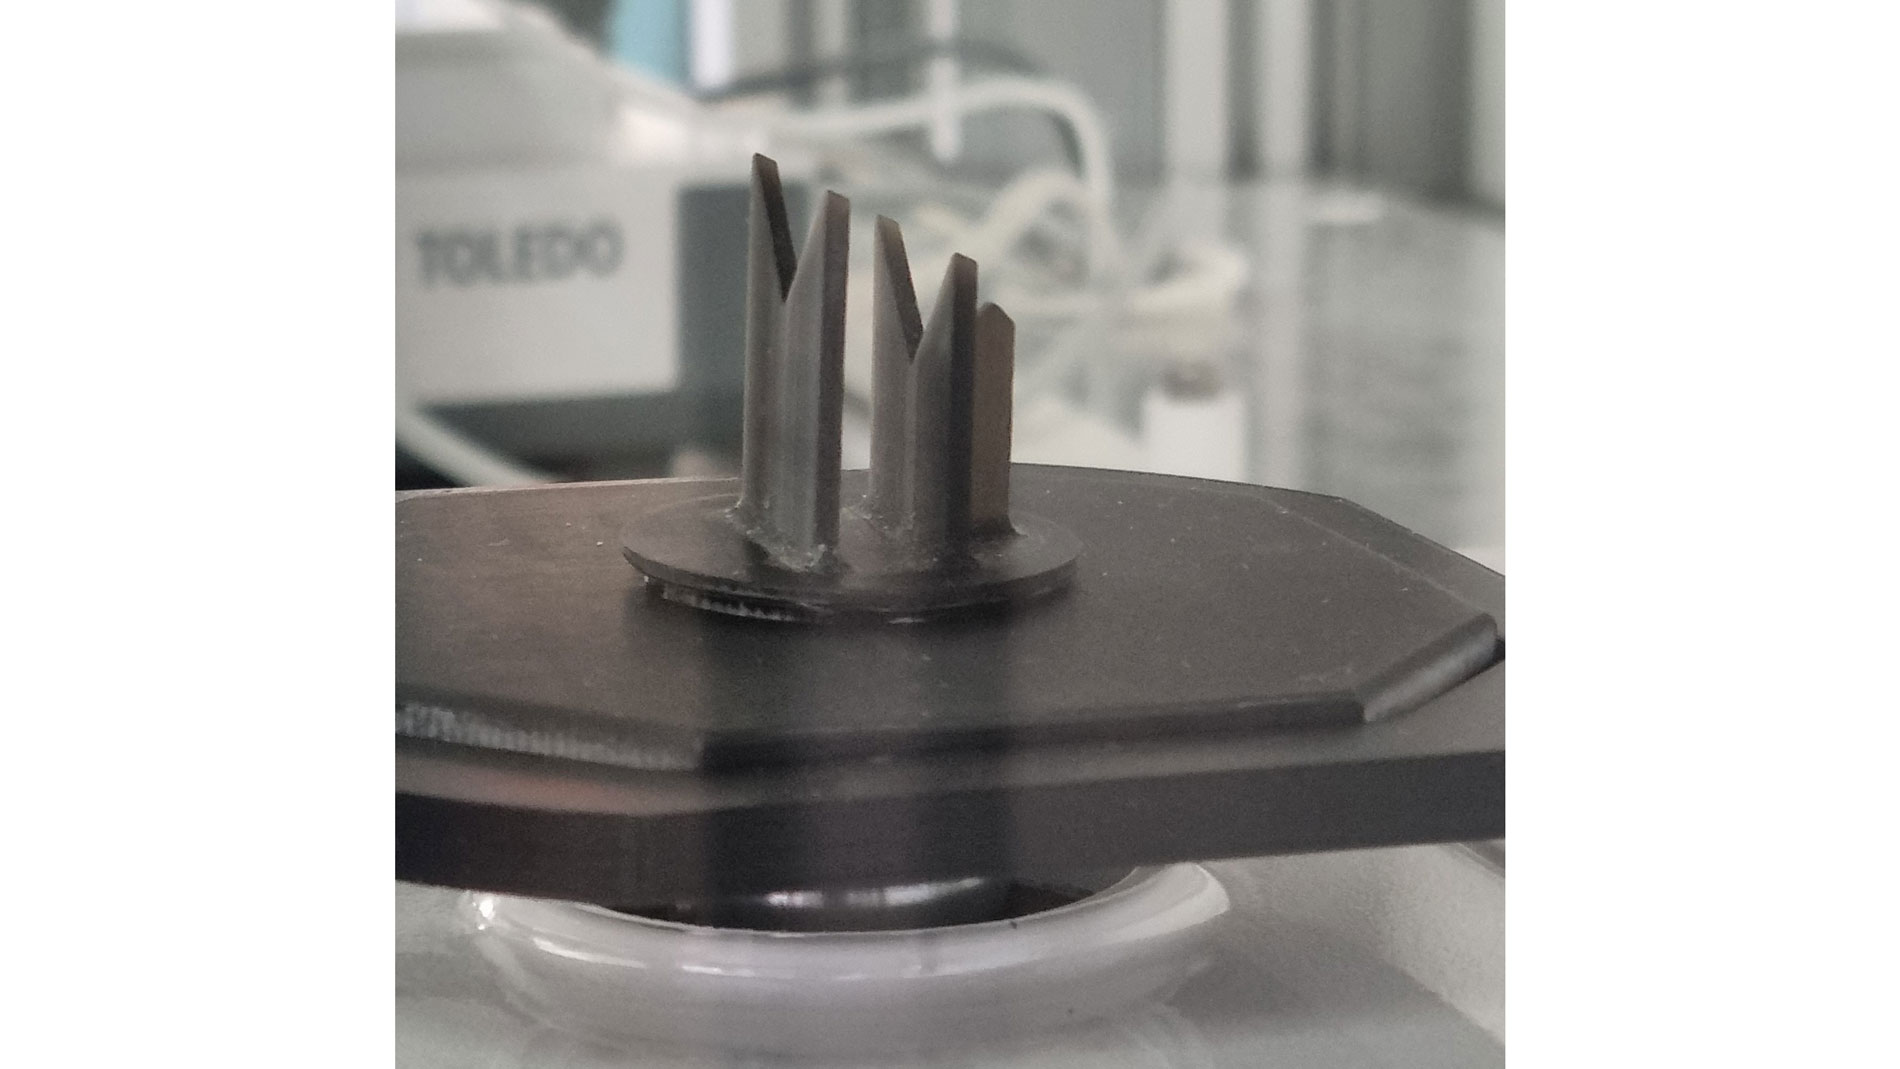
On the scales themselves, a lift-out rack with pins is placed, which lifts the component over the openings in the component carrier and thus lifts the component out of the carrier. The automated handling eliminates human influence on the measurement. In addition, all ambient conditions such as temperature, air pressure, and water temperature, are recorded via climate sensors, and their influence on the measurement result is taken into account directly in the evaluation algorithm when determining the density.”
Establishing the process capability of machines is an essential step for the production of series components via AM. It is continuously determined by external influencing factors, such as temperature. These influencing factors are included and compensated for in the density calculation, which means that operation in environments without laboratory conditions is also possible.
FURTHER INFORMATION:
Tags
- Quality management and measurement technology
